How to Geolocate a Photo From a Single Image
With images from the Iran conflict once again circulating across social media and OSINT communities, it's a good opportunity to talk about photo geolocation: how can you determine exactly where a photo was taken from a single image?
Most people think of geolocation as a visual search problem: identify a landmark, compare it against Street View, and narrow down the location.
But there's another approach.
Solving for the camera, not the landmark
A classic computer vision algorithm called Perspective-n-Point (PnP) can estimate the exact position and orientation of the camera that captured an image.
The idea is surprisingly simple. If you can identify several points whose coordinates are known both in the real world and in the image, PnP can solve for the camera pose that best explains what the camera sees.
Known 3D world points project through the camera centre onto the image plane; PnP solves for the rigid transform (R, t) between the world and camera coordinate frames. Drag to rotate the scene.
In practice, this means estimating:
- Camera position (x, y, z)
- Camera orientation (roll, pitch, yaw)
- Focal length
The algorithm searches for the camera configuration that minimizes the reprojection error — the gap between where the known points actually appear in the image and where the estimated camera would project them.
A tool built on Tel Aviv's open GIS data
To demonstrate this, I built a small tool connected to Tel Aviv's open municipal GIS datasets, including building footprints and elevation information.
Given a photo, you select matching visual anchors in both the image and the map — building corners work particularly well — and the system estimates the camera location.
Here's the full workflow end to end:
Getting the building heights
PnP needs the real-world 3D coordinates of each anchor — and for a building corner that means not just its latitude and longitude, but its height. A rooftop corner is only useful if I know how high it sits above the ground, and above sea level.
That turned out to be the fiddliest part, and it's worth a short detour into how elevation is modelled.
DEM, DSM, DTM
Three closely related terms that are easy to mix up:
- DEM (Digital Elevation Model) — the umbrella term: a raster grid of elevation values, one height per cell.
- DTM (Digital Terrain Model) — the bare-earth surface, with buildings, trees and other objects stripped away. It's the ground you'd walk on.
- DSM (Digital Surface Model) — the top surface: it follows treetops, rooftops and everything else the sky sees first.
The DTM hugs the bare ground; the DSM drapes over the top of everything. The gap between them, sometimes called a normalised DSM (nDSM), is exactly the height of whatever sits on the ground: building height = DSM − DTM.
Combining two open data sources
There's no ready-made DSM I could just look rooftop heights up in, so I had to estimate one — by combining two free, key-less open datasets:
- Ground elevation (the DTM) comes from AWS's open Terrarium terrain-RGB tiles (based on SRTM/NED, ~30 m). They're served as ordinary PNGs where every pixel encodes metres above sea level, so a single tile fetch gives me the ground height under any point in the area.
- Building footprints and heights come from OpenStreetMap, queried through the Overpass API. Each building is a polygon, often tagged with a
heightor a number of floors.
Adding a building's height to the ground elevation beneath it reconstructs the rooftop's absolute height above sea level — effectively the DSM value at that corner, which is exactly what PnP wants.
Estimating heights when the data is missing
OpenStreetMap's height data is patchy, so this is where most of the estimation happens. For each building I fell back through a small ladder:
- If an explicit
heighttag exists, use it directly — this is the only case where the height is actually measured. - Otherwise — and this is the common case — only the number of floors (
building:levels) is tagged, not a height. I estimate the height as floors × ~3.2 m per storey (a typical residential floor including the slab). - If neither exists, fall back to a sensible default of ~12 m, roughly a four-storey building.
This is also why the sharp corners of rectangular buildings make the best anchors: a right-angle corner is a single, unambiguous point that you can pin down exactly in both the photo and the map. A rounded rooftop has no such fixed point — the edge you see slides around as your viewpoint changes — so it's far harder to match the same physical spot in both views.
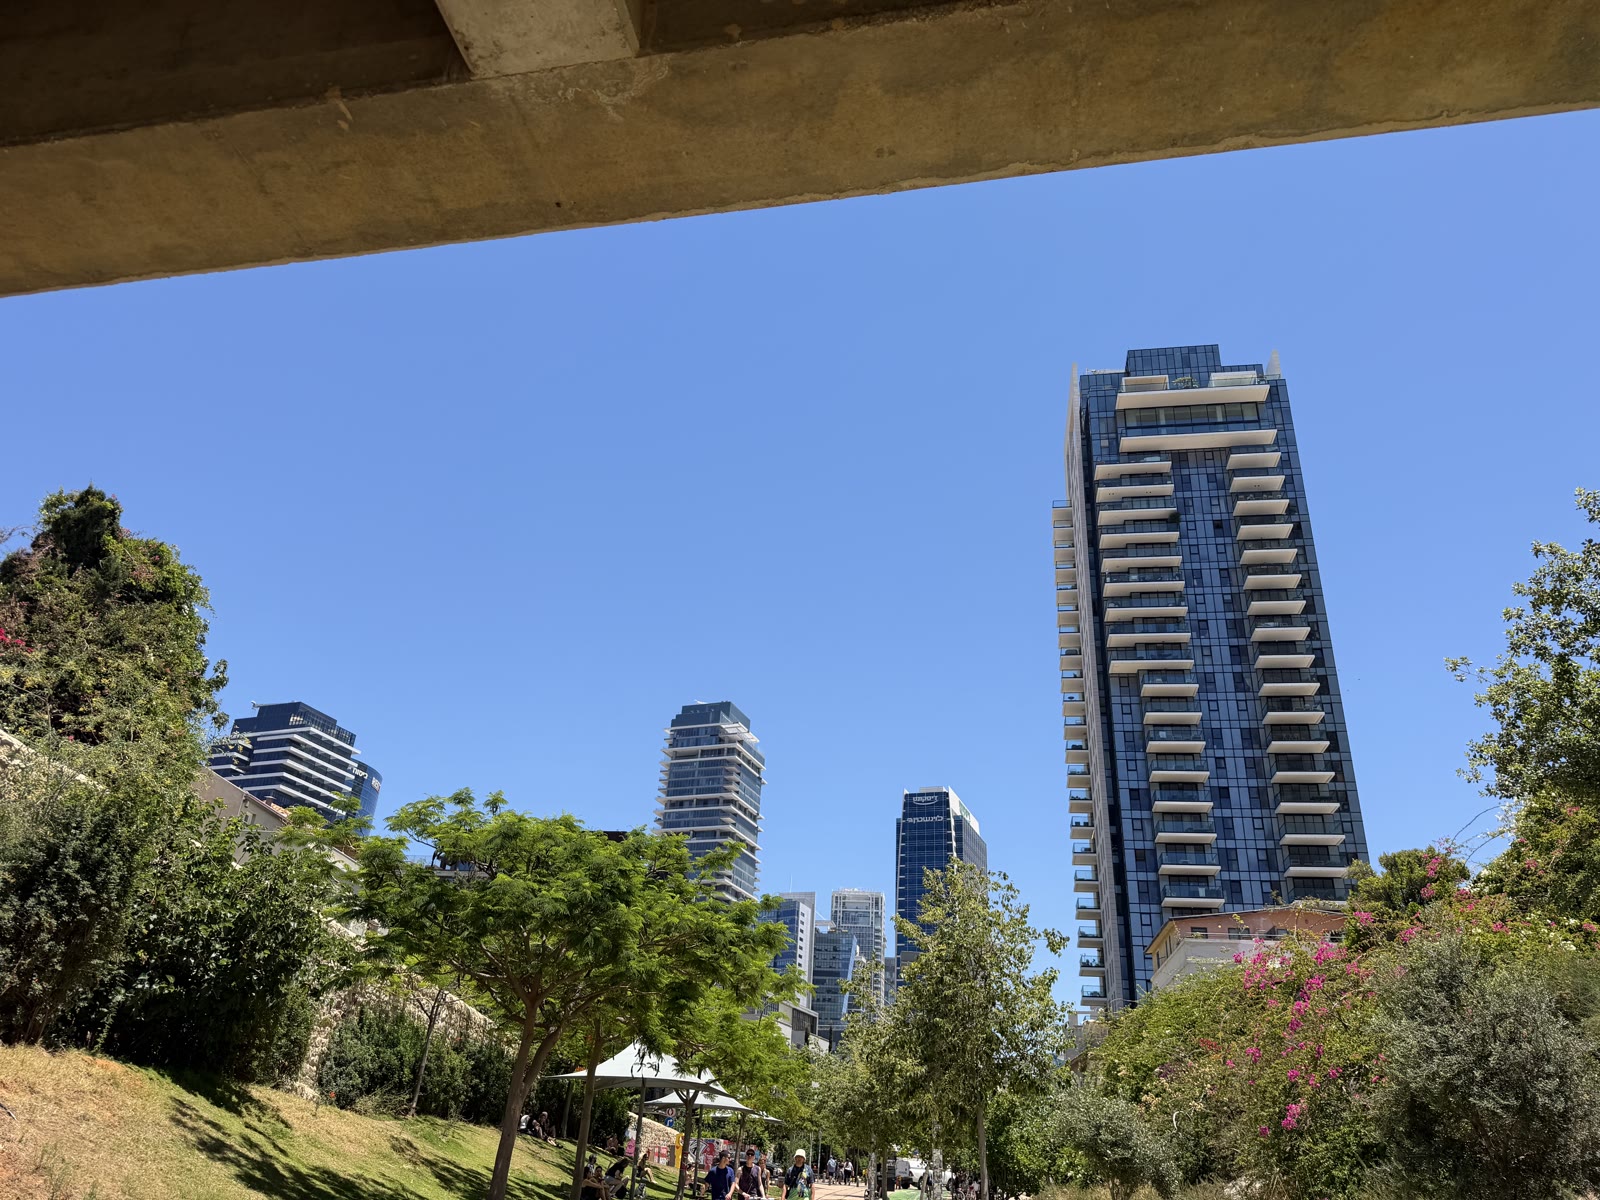
When I tested it on a photo I took in Tel Aviv, it recovered the shooting position with surprisingly high accuracy — down to the rooftop I was standing on.
It's a nice example of how techniques developed decades ago for computer vision are still incredibly powerful today, and how much information can be extracted from a single image when geometry meets maps.
Try it yourself
You can try the tool with your own photo here: itamarweiss.com/photo-geolocation.